
Week 7 Bonus Post
(With an Ice Cream Sundae Recipe)
So guys, after I published the last blog post for Week 7 (read it here!), I started getting sad that I wasn’t going to travel to any cool new ice cream places for a while. But then I realized – even if I can’t go to these shops, I can still bring the ice cream enjoyment to my house!
So, as a second (bonus) post for Week 7, I am sharing an ice cream sundae recipe made from ingredients that I already owned. I hope you enjoy and get inspired to make your own sundae too!!
Step 1: Pick out the fanciest glass you can find.
We may be under quarantine, but that doesn’t mean we can’t live it up. This step is crucial to the homemade sundae experience, so I beg you – please do not skip it.
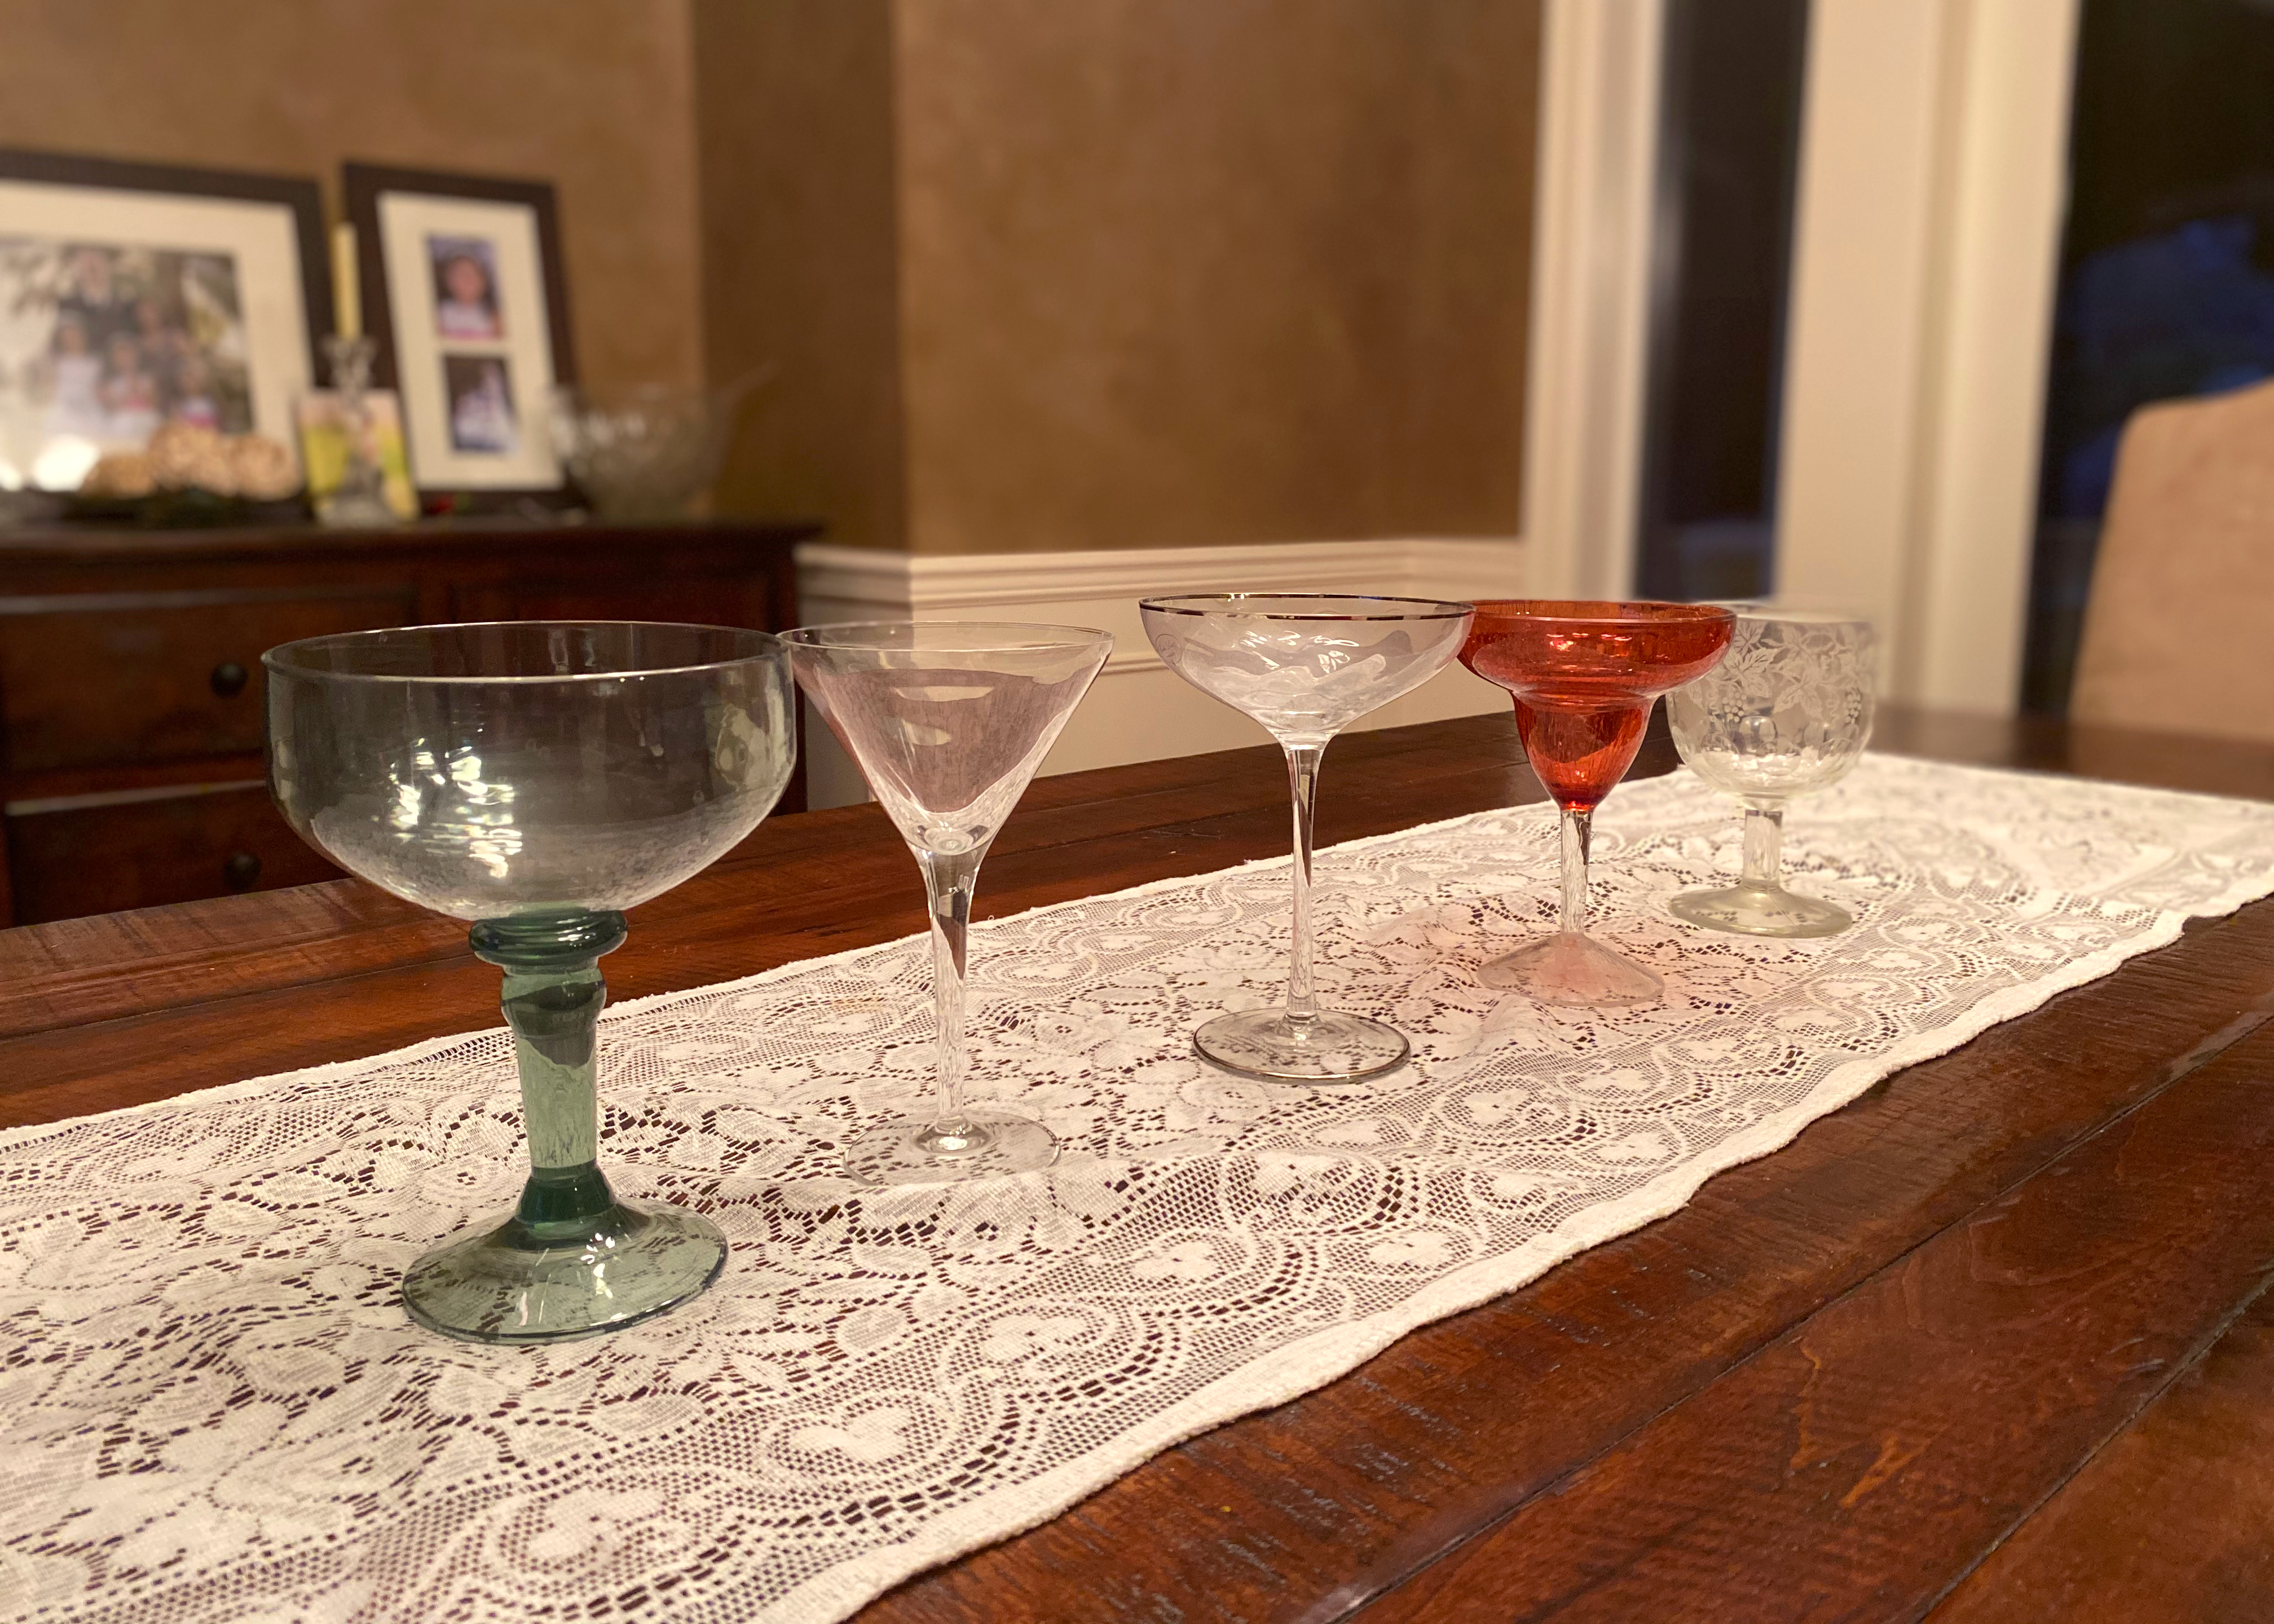
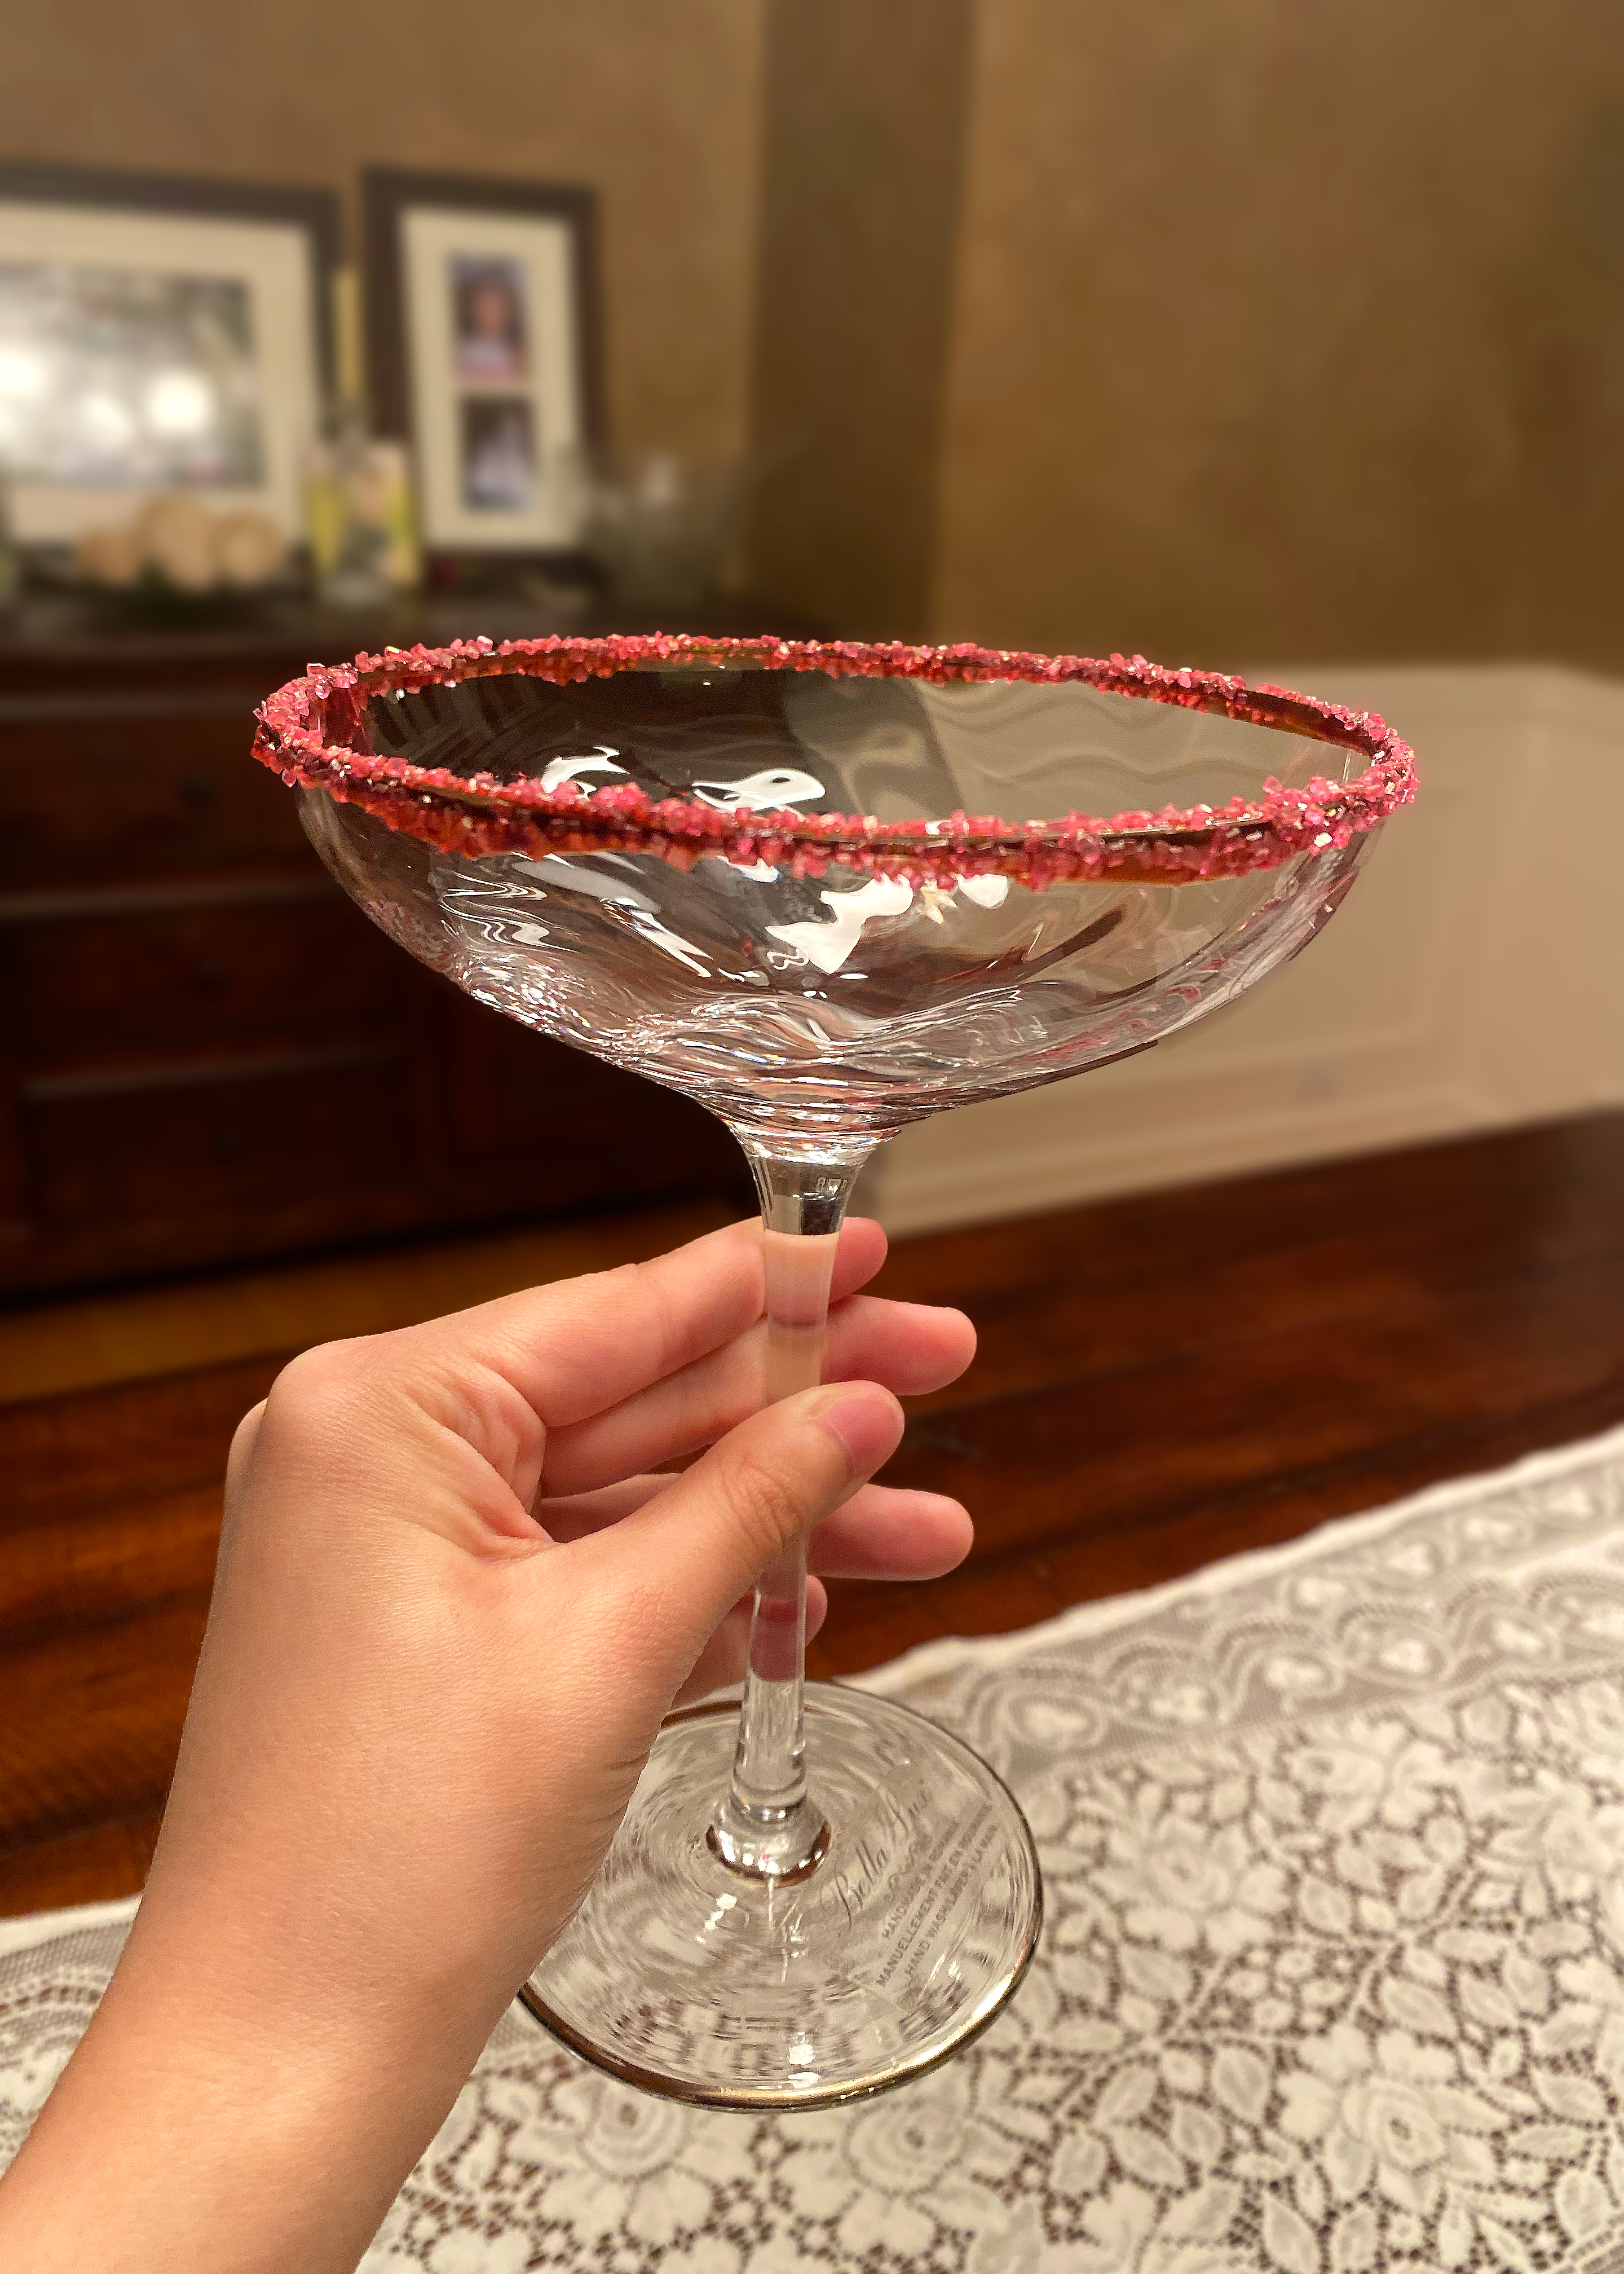
The ideal glass is clear (so you can see the ice cream) and wide on top (so it is easy to eat out of). Generally a Margarita or Martini glass works well, like the ones pictured on the left.
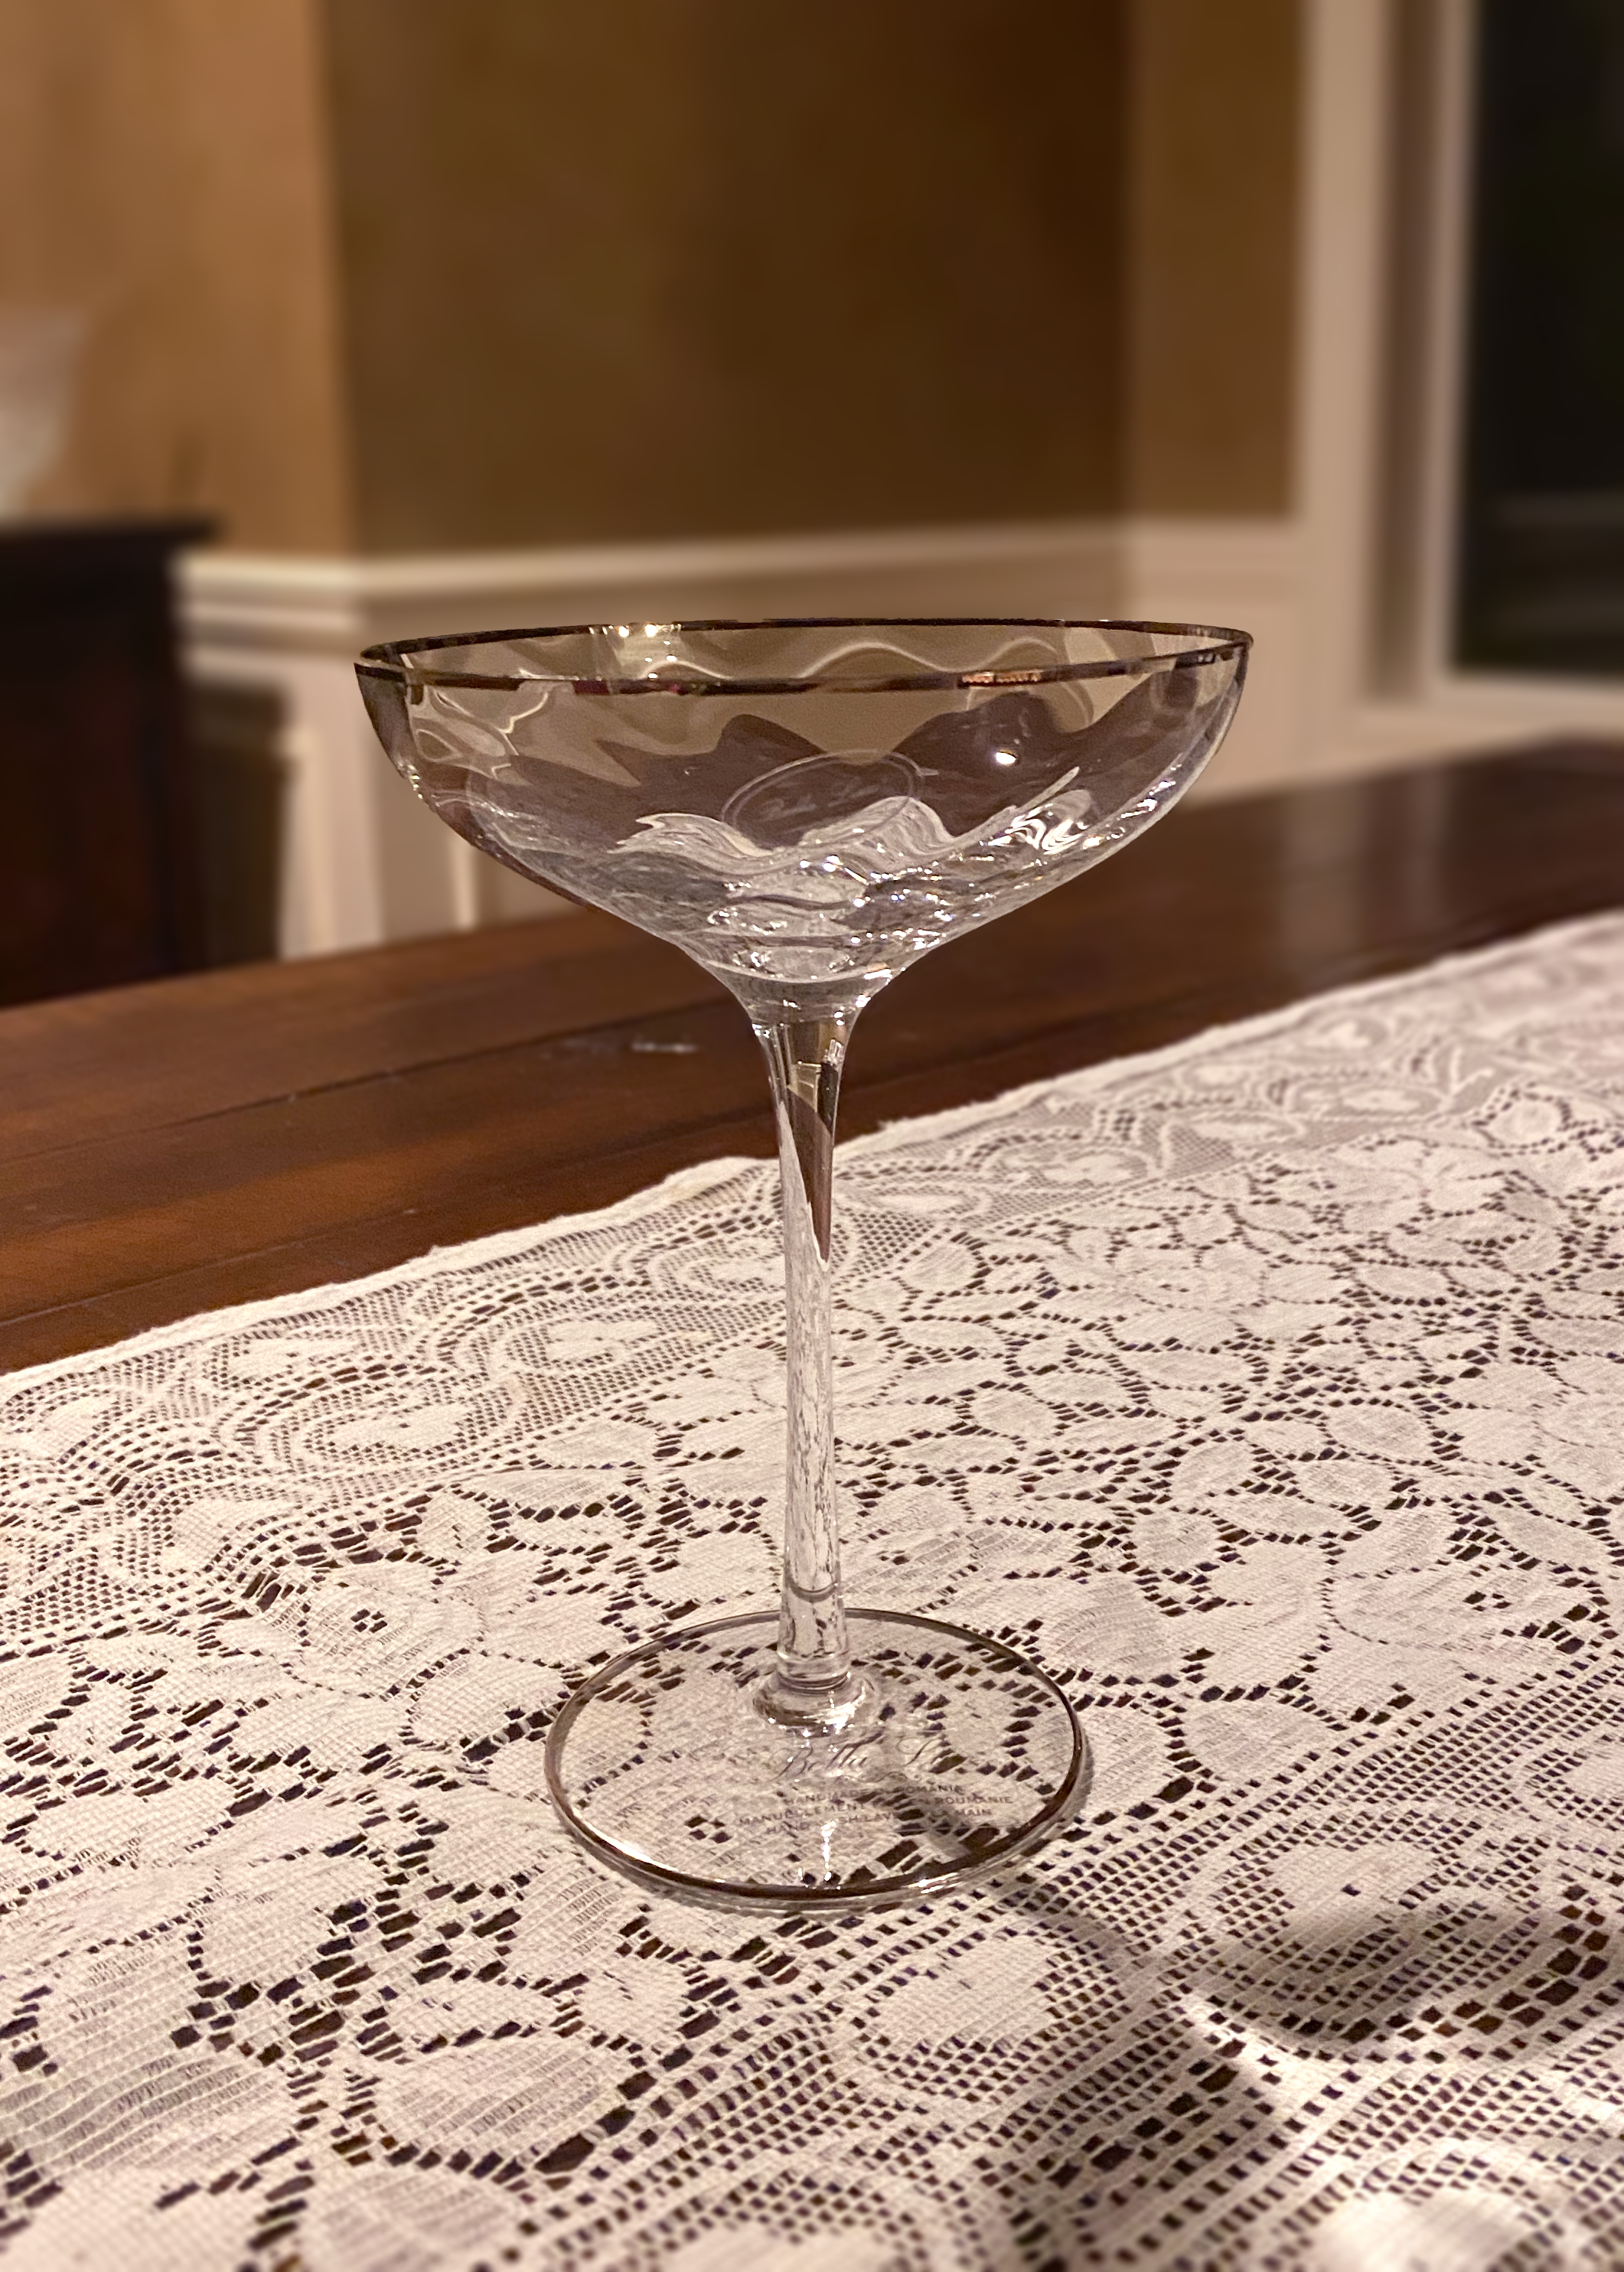
I ended up choosing the glass on the right. I liked it because it was open on top but not too deep, which I thought would keep me from eating too much ice cream. Plus, it was gold rimmed – and that was definitely the vibe we were going for tonight.
*Important*: Before continuing with this recipe, make sure to thoroughly wash the glass – and your hands!
Step 2: Create a sprinkle rim for extra flair.
First, prepare two bowls. In the first, squeeze in some syrup of your choice. In the second, fill with sprinkles of your liking. I went for a Salted Chocolate Caramel syrup and Pink Sugar sprinkles.
Note: smaller sprinkles tend to stick to the glass better.
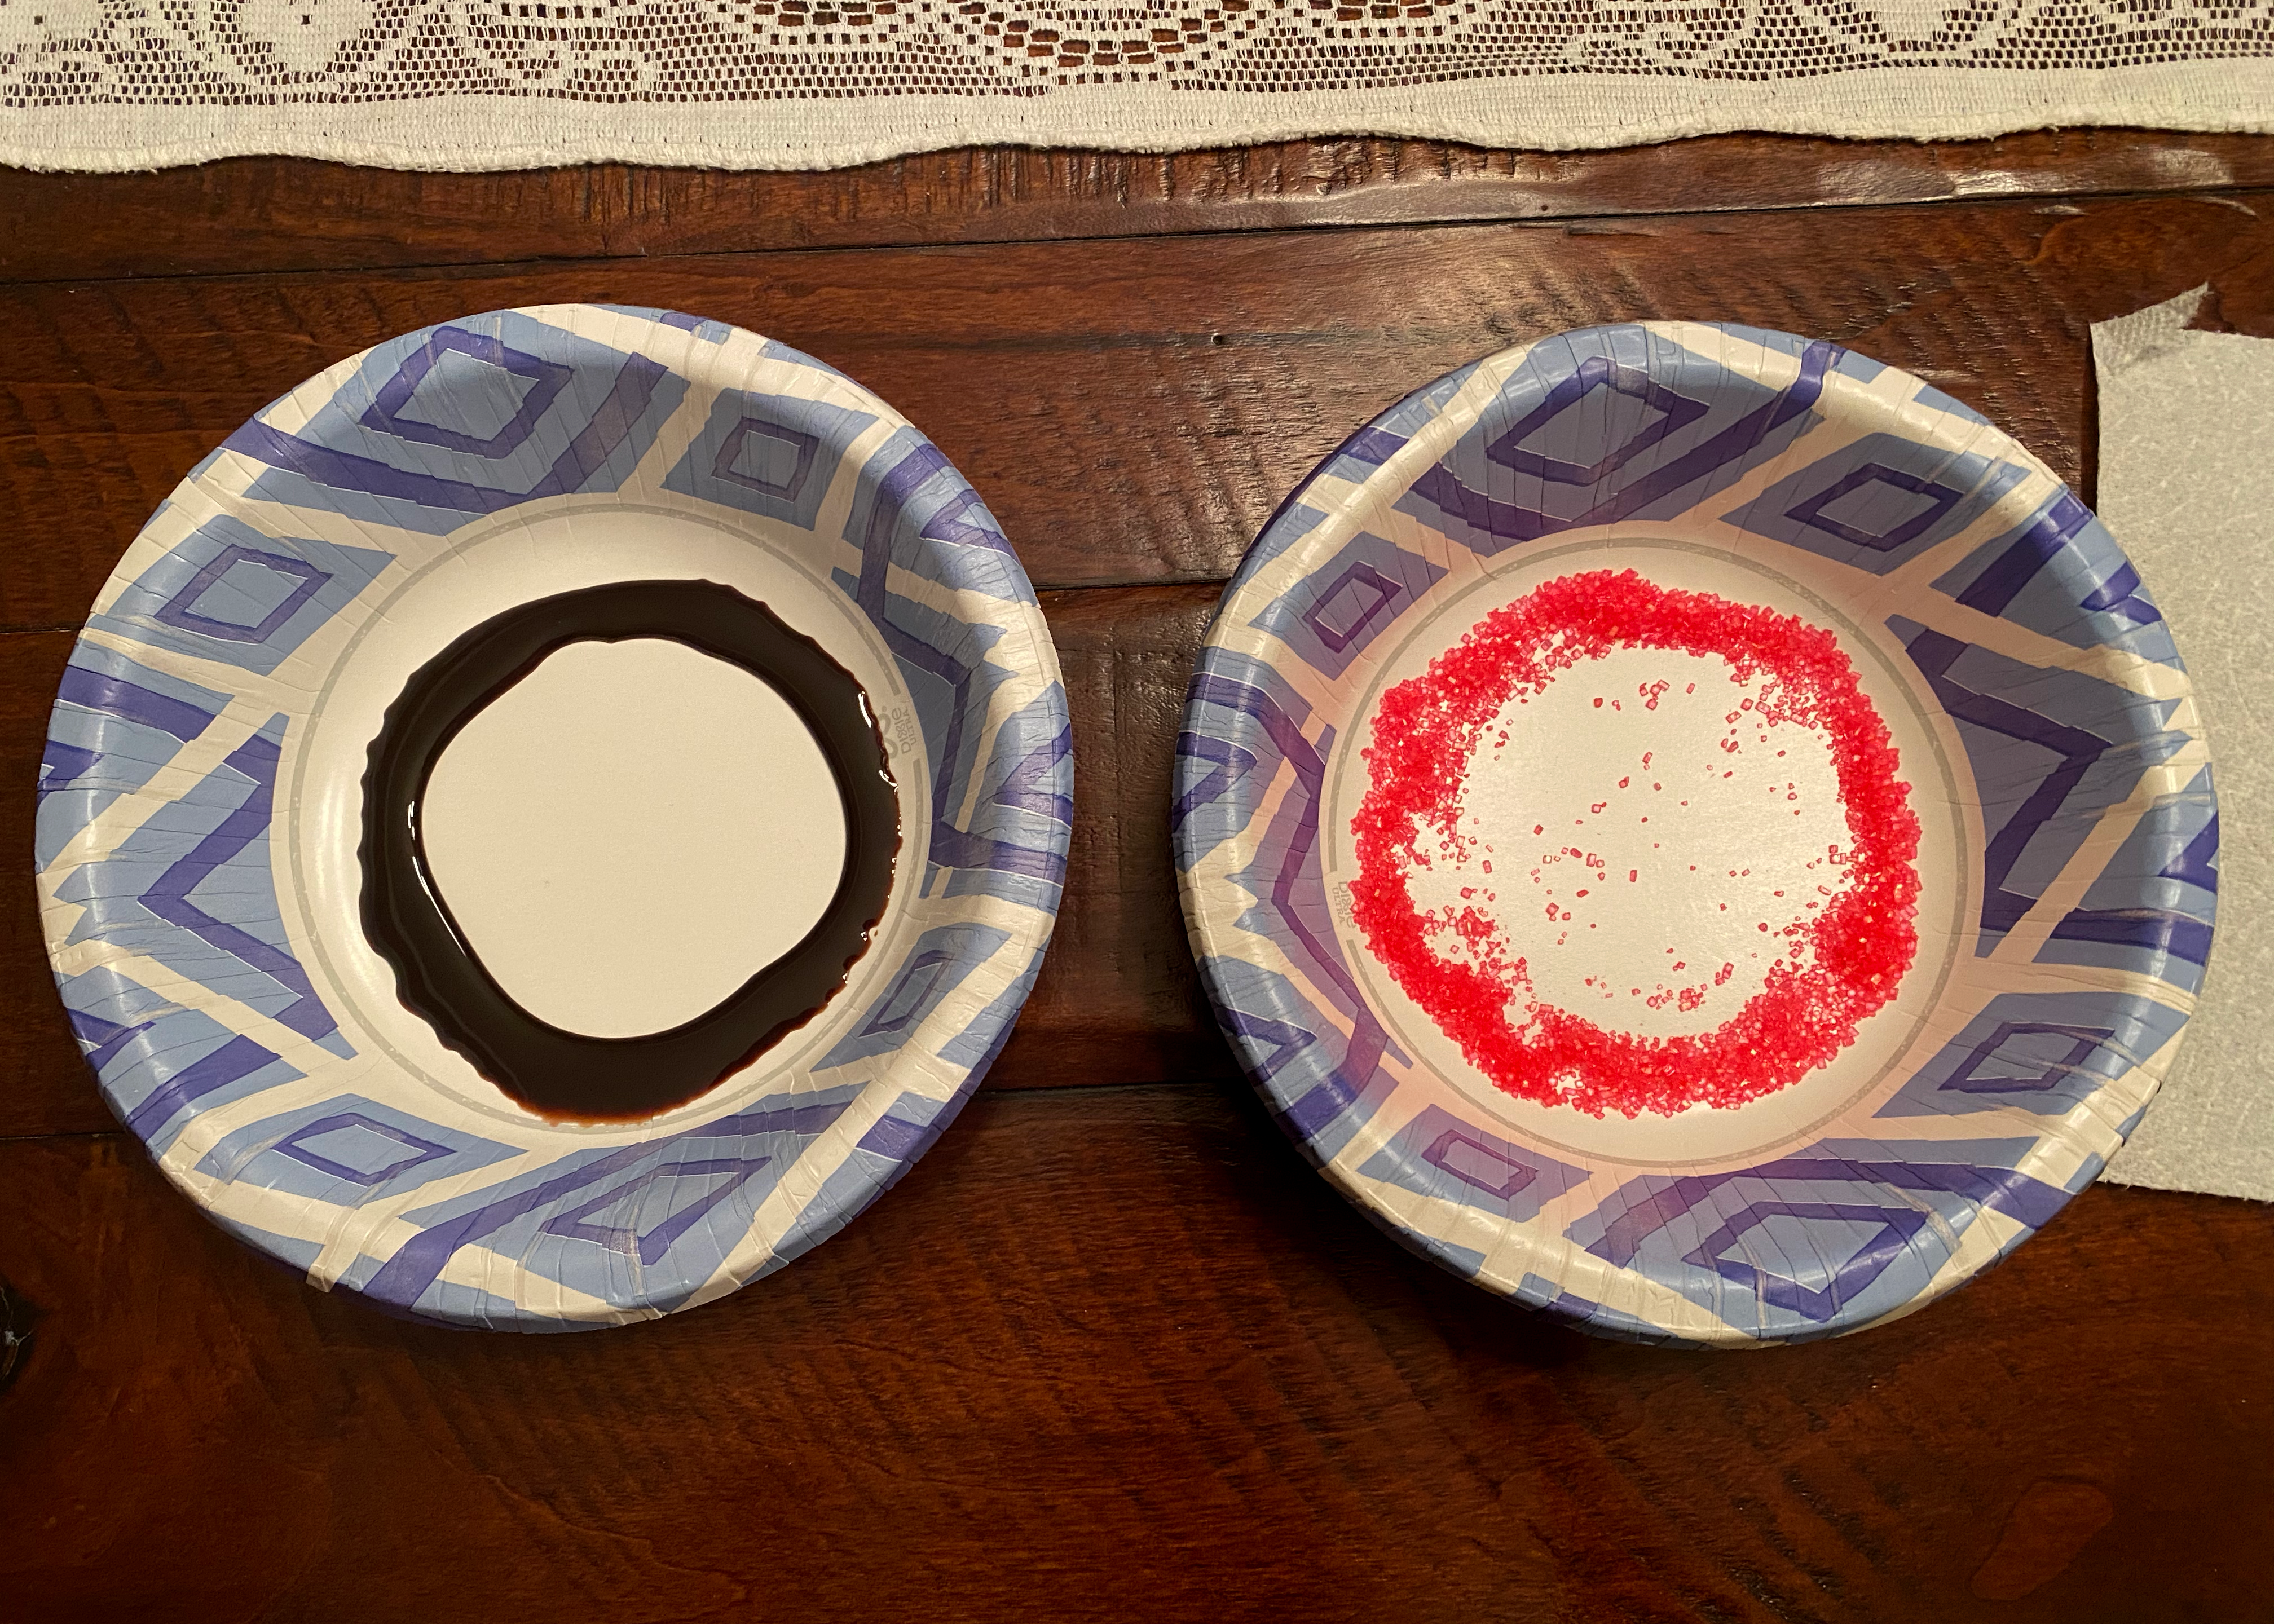
You can completely fill the bowls with syrup and sprinkles if you like, but I didn’t want to waste too much. Instead, I made two circles inside the bowls for the glass’s rim.
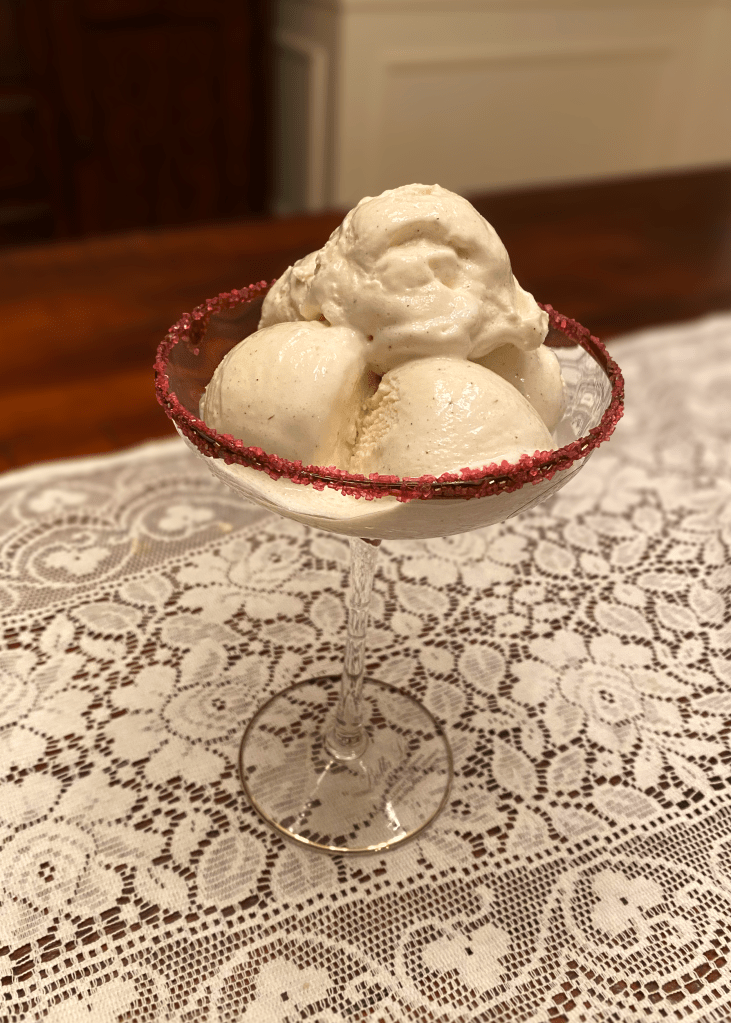
After you have filled your bowls, it’s time to make the sprinkle rim. Begin by tipping the glass upside down into the syrup bowl, coating the rim with the syrup. Then, take your syrup-coated glass and dip it into the sprinkle bowl, twisting the glass around so the sprinkles completely cover the syrup rim.
You should end up with something similar to the picture on the right!
Step 3: Use an ice cream scoop to spoon out spheres.
As you can see from the photo below, my Vanilla ice cream started to get melty because I was trying to take pictures of every step – whoops. It’s okay though! An imperfect experience is part of homemade ice cream. And it will still taste amazing.
Usually, however, I have the exact opposite problem – the ice cream is too firm to spoon into perfect spheres. If this is you, an easy fix is to run your ice cream scoop under warm water.
Stick your warmed utensil into the ice cream and spin it in a circular motion. Voilà! The perfect scoop!
Repeat this process until you have acquired the desired amount of ice cream in your glass.
Step 4: Add aesthetically-placed whipped cream mounds.

This may seem like a simple step, but if you want the Instagram-aesthetic, it actually requires a bit of technique.
Generally, it looks good to put the whipped cream in the open spots in between the ice cream scoops. This gives the illusion of the dessert being fuller than it actually is.
I also like to put a little mound of whipped cream on the top center, to make it taller.
Step 5: Lay on the sprinkles and zig-zag the syrup.
The key to a fancy-looking ice cream sundae has a lot to do with the syrup. Feel free to experiment – but I’ve found that drizzling it in a zig-zag motion will make it look the most professional.
Then add any toppings that you like! I love sprinkles, so I added a bunch of those. But you can also add nuts, cereal, candy, and more – just have fun with it!
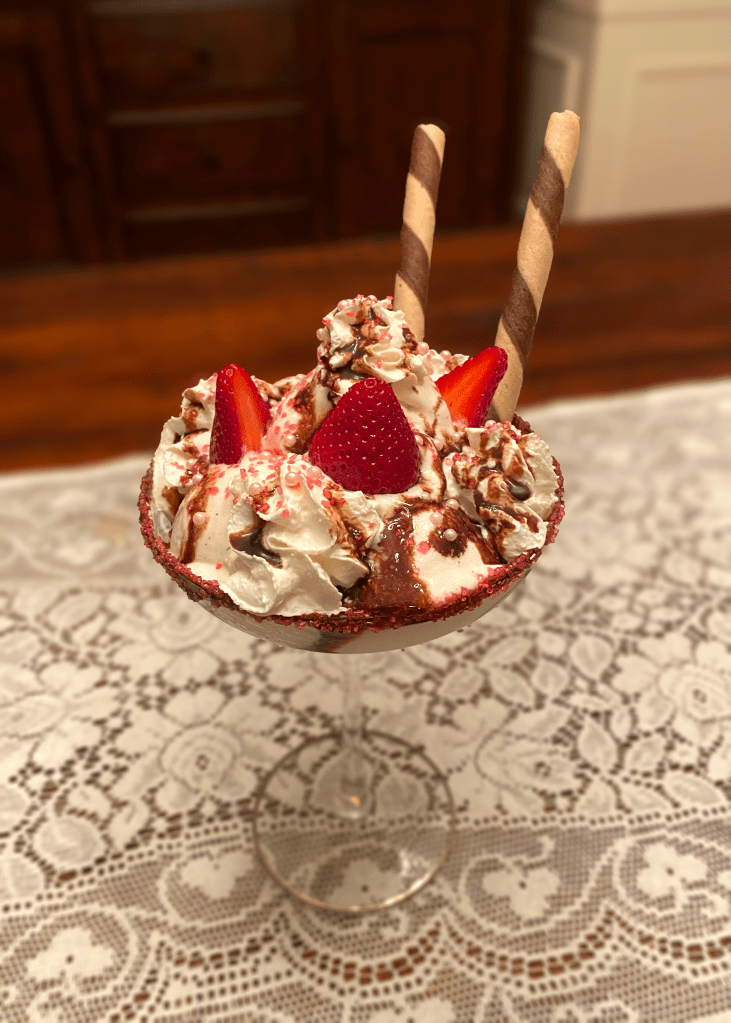
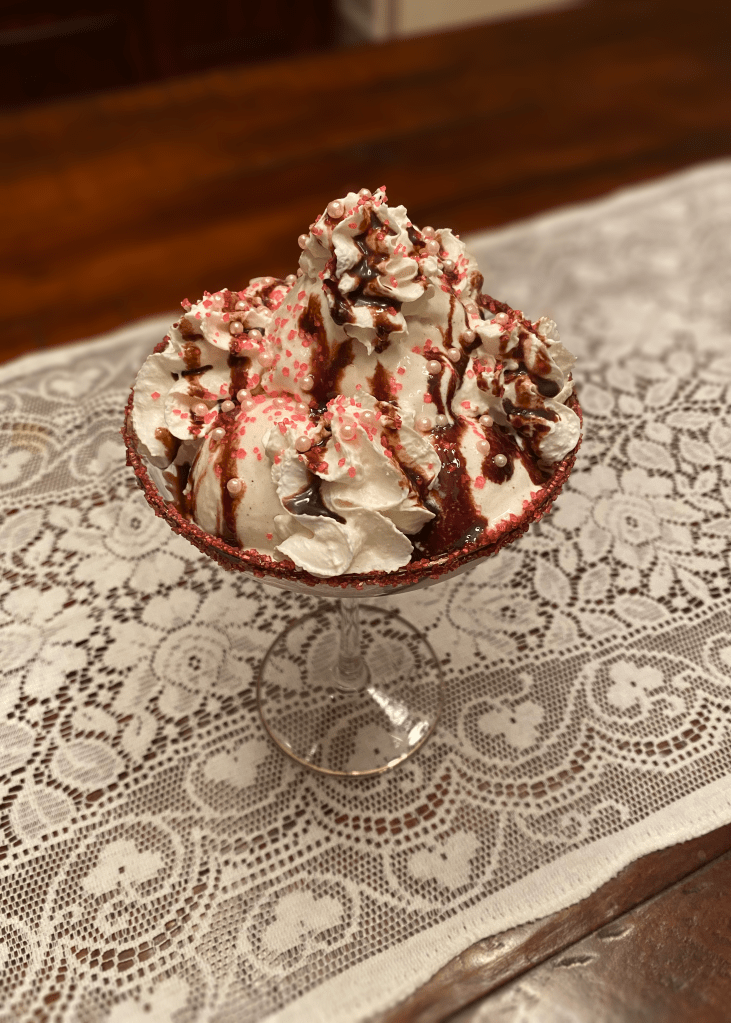
Step 6: Add embellishments and enjoy!!
For mine, I cut up a couple of strawberries and placed them around the middle of my dessert. Earlier I had found some chocolate wafer straws hidden at the back of my pantry, so I stuck those in too.
Overall, I think that the ice cream sundae turned out well! Syrup, whipped cream, and sprinkles never fail to delight.
Final Thoughts
I made this ice cream sundae purely out of the ingredients that I already owned. I think it goes to show that even during a time when we are obligated to stay in our houses – and to limit our trips to the grocery store – we can still enjoy the simple pleasures in life, like ice cream.
I hope you felt inspired by this blog post to find ingredients in your own home for an ice cream sundae. It’s a great way to momentarily escape from all of the negative news in the world today.
Until the next post – hang in there everyone!

Clever way to do your LA ice cream blog when you are confined to your home. You inspired me to create my own ice cream dessert. Thanks for bringing some joy in these uncertain times.
LikeLiked by 1 person
I was wondering how you were going to create a blog post for traveling to ice cream places under quarantine! This made perfect sense. Sadly my parents do not buy ice cream so I can’t make my own but, I can live vicariously through you. Great job with the blog!
LikeLiked by 1 person